Showing posts with label Crafts. Show all posts

Thursday, October 9, 2014

Halloween Quilt


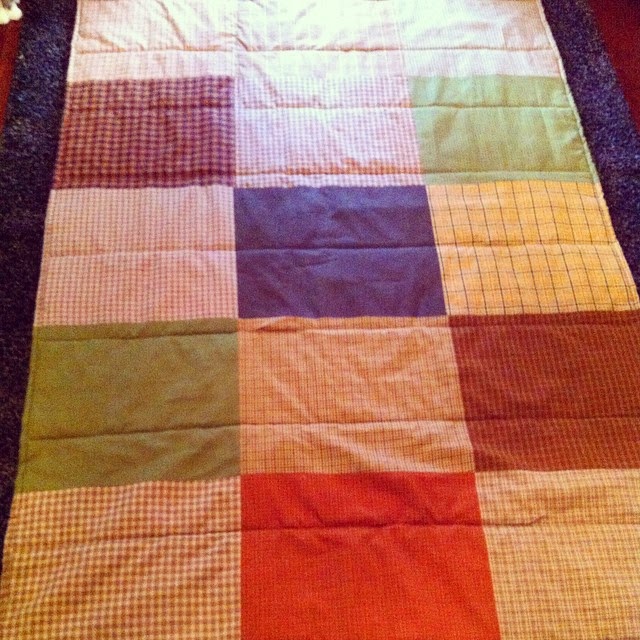
When I was at Grandad's house late July/early September, Mom and I went through some of Granni's fabric. I was hoping for certain kinds but you never know what's in that big stash of hers. When we came across the Halloween fabric, I was so excited. I've wanted to make a Halloween quilt for a while but Halloween fabric can be expensive. She also had a pack of flannel fat quarters. I originally thought they would be a quilt of their own, but I used about half of those to back this. I also wanted to use a different design but the fabric that had cats and pumpkins kind of decided how big the rectangles got. I like how it turned out, though. It's a nice blanket to cuddle under and dream of Halloween.

Friday, September 26, 2014

Amigurumi Serenity Pattern


My sister requested this for her unborn son. She and her husband like Firefly by Joss Whedon. She thought that it would be cool to let him have a crocheted Serenity. And I thought, why not let others be able to make one of their own. I don't know the exact measurements but it is under 12".

**Please don't make these to sell them. Also let others know where you got the pattern from. Thanks!

Serenity Spaceship Pattern

G Hook (4.25 mm)

MAR = Magic Adjustable Ring
ch = chain
sc = single crochet
st =stitch
sl st = slip stitch
sk st = skip stitch
inv dec = invisible decrease
inc = increase
*(...)* = repeat between * around
Rd = Round

*All worked in both loops.

Body:
MAR
Rd 1: 6 sc into MAR (6)
Rd 2: inc around (12)
Rd 3: sc around (12)
Rd 4: *sc, inc* (18)
Rd 5-6: sc around (18)
Rd 7: *sc 2 st, inc* (24)
Rd 8-9: sc around (24)
Rd 10: *sc 3 st, inc* (30)
Rd 11-13: sc around (30)
Rd 14: *sc 3 st, inv dec* (24)
Rd 15: sc around (24)
Rd 16: *sc 2 st, inv dec* (18)
Rd 17-18: sc around (18)
Rd 19: *sc 2 st, inc* (24)
Rd 20: *sc 3 st, inc* (30)
Rd 21-28: sc around (30)
Rd 29: *sc 3 st, inv dec* (24)
Rd 30: *sc 2 st, inv dec* (18)
Rd 31: sc around (18)
Rd 32: sc 9 st, sl st 9 st (18)
Rd 33-37: sc around (18)
Rd 38: *sc, inv dec* (12)
Rd 39-41: sc around (12)
Rd 42: sc st, inv dec 2 st, sc 4 st, inc 2 st, sc 3 st (16)
Rd 43: sc 2 st, inc 2 st, sl st 6 st, inc 2 st, sc 4 st (20)
Rd 44-46: sc around (20)
Rd 47: sc 4 st, inv dec, sc 7 st, inv dec, sc 5 st (18)
Rd 48: sc around (18)
Rd 49: sc 2 st, inv dec, sc 7 st, inv dec, sc 4 st (16)
Rd 50: sc 2 st, inv dec, sc 5 st, inv dec, sc 4 st (14)
Rd 51: sc 2 st, inv dec, sc 4 st, inv dec, sc 4 st (12)
Rd 52: inv dec around (6) END

Turbines:
*Make 2
MAR
Rd 1: 6 sc into MAR (6)
Rd 2: inc around (12)
Rd 3-11: sc around (12)
Rd 12: inv dec around (6) END

Wings:
*Make 2. Have a long tail before starting ch.
Rd 1: ch 14, sl st to 1st ch (14)
Rd 2-5: sc around (14)
Rd 6: *sc 5 st, inv dec* (12)
Rd 7-9: sc around (12) END *Don't close and leave a long tail. This end is sown to turbine.

APU:
*This is the small piece on the top of the back.
Row 1: ch 7, turn (7)
Row 2-5: sc 6 st, ch, turn (6)
Row 6: sk st, sc 4 st, ch, turn (4)
Row 7: sc 4 st, ch, turn (r) END *Leave long tail to sew. Fold in half and sew the piece on until about a third left. Fold in the two corners to middle and sew closed.

Wrap Around Piece:
MAR
Rd 1: 6 sc into MAR (6)
Rd 2-46: sc around (6) END *Leave long tail to sew.

Then use a yarn darner and black yarn to embroider as many details as you want. After this, you're done! Congrats! Now go aim to misbehave. ;)

Thursday, September 25, 2014

Star Afghan


I needed another thing to do with my hands while waiting for news from Salt Lake City to tell me when I can go to Hong Kong. I've had this one on my "To Do" list for a while. I found this patterna while ago and kept it tucked away. It wasn't until I was making a completely different afghan that I realized that this would be perfect. So I undid that and started this pattern. The pattern for this can be found here for free. 

I was so excited to finally do this. This is my favorite shape and I was able to use my favorite colors in it. It was fun to make but I do wish I knew why the corners are all wobbly looking. I'm not sure why it got that way. I stopped at this size because that was all the black yarn that I had. I may in some future make it bigger. I haven't decided yet. So right now it's a tentative work in progress.

Tuesday, September 9, 2014

Amigurumi Toothless


This was a fun pattern, and a little tricky. I wanted to crochet something but I wasn't in the mood of doing my own pattern for some reason. I was sniffing around Ravelry and seeing what I could make. Then I remembered that I had found one a while ago that I thought was pretty cool: Toothless. The pattern can be found here for free by Nicole's Nerdy Knots. 

I may have only done this one in a day... and my thumb is paying for it. He doesn't look that big in the pictures but his wingspan is over 2 ft. There are also a lot of small rounds to make up things like his tail and the spikes. It hurt but you get used to it. I did change the pattern on the wings slightly. I thought that it would look more accurate to the movie, and I would have to do fewer stitches. Score on both counts! I like how it turned out.


Monday, September 8, 2014

Mickey Mouse Quilt


Happy birthday, Luke! As you can see, I made this for him. This guy turned two and he's awesome. I'm lucky to have awesome nieces and nephews.

I had no idea what to make for this kid. I was trying to think of things to crochet for him, but to no avail. Then I remembered the Mickey Mouse fabric I got from Granni's stash. It turned out to work so well. This kid LOVES Mickey Mouse. When he opened it up, he was pretty excited. His Dad decided to lay it on the ground and he laid right on it. I guess he liked it. ;)

Saturday, September 6, 2014

Recent Art

So I've been trying to keep myself busy while being at home. I decided to do some art. It helps keep me distracted, mostly. While I was with my parents at my Grandad's house, I found some artwork that Granni started before she died. I was able to finish the first two pictured there because there was still some paint and brushes at his house. And no one seemed to mind. I think others may have been excited to see them finished.


Once I was home I remembered that I needed to make some amigurumi for an upcoming niece and nephew. The bunny is for the niece and she actually came six weeks early. I wanted to give it to my brother and sister-in-law at the baby shower but I got caught making it and my four year-old niece gave me up. And the monster worked out really well because we found out my sister was having a boy while me being back. Both of these seemed to go over really well.


Then these last things were done just for fun. The sign is actually some wood that Granni left behind and I decided to go ahead and paint "Welcome Foolish Mortals" on it. This references my favorite Disney Park ride: The Haunted Mansion. Originally it was just going to paint everything all flat, but Amber gave me the idea to modge podge the wallpaper on the back. I'm so glad that I did. I love how it turned out. It should be great to use at Halloween time.


Then this is another thing that Granni started but I finished. She made all the squares but one. I had to make one in order to get the pattern to work out. Which is ironic because there's also a square on the back because it's smaller than the others. I like how it turned out. This will be good to put on a table or on the back of a chair. We'll see in the future.

Wednesday, March 19, 2014

Purple Felt Dragon


I made this little guy a while ago. It was an interesting adventure. My last full on felt plushie was Frank and he had considerably fewer pieces. Like Frank, this plush was made by a pattern that I created while making him. I was a little frustrated by how the head looked at first but I like it now. It gives him that squishy, plush feeling. He is also all hand sewn, no machine here. Some of the pieces that I had to make would have been a struggle with a machine. I also like how his wings turned out and the fact that they need nothing to stay up like they are. Oh, you can kind of tell that the black felt is sparkly but it really is. It's a fun felt.

He's around 6" tall, 5" wide. Made of felt, polyfil, thread, and safety eyes.

Wednesday, October 16, 2013

Two Bone-tastic Plushes

Those who know me know that I like creepy cute. I like the juxtaposition of the two ideas that seem like they shouldn't work together. I liked the idea to bring it to Halloween in decorations, once again. The last time I made a creepy, cute Halloween plush was Frank. I still love the little guy. But this time I decided to go with a bone theme.


I drew a couple of different designs for a skeleton  before deciding on this one. I thought that this short design with a large head helped keep the cute along with the creepy. The heart was a last decision when I was cutting out the felt pieces. I felt like it needed some color since the front and back were only black and white. (The back is a black and white dotted fabric.) While watching General Conference I hand-sewed on the bones and heart. Then I used a sewing machine for the rest.


I also decided to make a sugar skull. These are little confections that are seen during Dia de los Muertos. I have always liked their aesthetic. The vibrant colors with dark lines was a cool contrast to me. When I first drew this out I thought I was going to embroider a black line for the teeth. But after rummaging through my embroidery thread I saw that I didn't have enough black for that. So I decided to cut out a whole for the teeth and then use that scrap to make the teeth. Something strange went on when I put them on. There wasn't supposed to be a big gap between the rows of teeth, but somehow it happened. I still like the overall look of the skull, though.

Close-up shot of some of the details.

Thursday, September 12, 2013

"Kingdom Key" Keyblade

As some may know, I have an awesome hobby. Cosplay. I'm such a geek; it makes me happy. I would have loved to make a new cosplay this year but with the move and all the craziness that wasn't going to happen. And not to mention, that money has gone short. So I decided to make something for my last cosplay: a keyblade.

Originally I wanted to make the "Decisive Pumpkin" Keyblade since that's the one that goes best with the cosplay. However, I couldn't because I didn't have the money to go get insulation foam and coat that with resin. I decided to make the "Kingdom Key" because it's classic and I could make it out of materials already in the house. That's right. No money was spent making this since all of the materials were here.


At this stage I had used some cardboard (the kind of the back of sketchbooks) to make the 3D shapes. It's pretty study because I braced the insides with the same cardboard and hot glue. Then I covered everything in craft foam using hot glue. A little messy finish but, again, no money to get Worbla or Wonderflex. Before moving onto the painting stage I used Modge Podge to seal it and then gesso. After that was just to apply the multiple coats of acrylic paint. Seriously, it's a ton of paint. There's at least three coats to each color.


While I was waiting for layers of paint to dry, I made the chain and Mickey charm out of polymer clay. I was praying that this would work. I had to cut three of the links in half before baking and then super glue them around the other links to make the chain. Thankfully the glue I chose is WAY strong and works very well for that and attaching it to the Keyblade.

I can't tell you how excited I am that my Halloween Town Sora cosplay is going to have a Keyblade to go with it. It'll be fun to wear it for Halloween and hopefully a convention some time in the future. And maybe I'll get the chance to make another kind of Keyblade to do the double Keyblade look. ;)

Monday, September 9, 2013

Polymer Experiments

Finally getting around to posting these here. I just haven't been in the mood lately. Anyway, I decided to goof around with my polymer clay because I just wanted to. Every now and then I miss making stuff out of the clay and I want to be able to showcase what I can make for people, if they're interested. So I chose to do some experimenting.


With all the dragons that I've made, I hadn't done an oriental one. All the others have wings and I also like the look of oriental ones. I like how this one turned out, but it does need some adjusting. I don't think that it quite reads as an oriental dragon yet. They're minor adjustments but I think they'll be worth it.


Some time ago I make a tiny dragon and didn't think much about it until recently. I was looking at it and I thought how much I've grown in sculpting with polymer clay. I decided to try to redo him in a different way. I think that the snoz is a bit big for the little guy, but I'm pretty happy with how he turned out. He needs a few adjustments as well.

More Dragon Eyes.

A rose ring.

A black maneki neko charm.

And with this one I tried to mimic the texture of knitting, but it needs some work.

Thursday, August 22, 2013

White Crochet Purse


I usually use a black purse that I sewed when I was still in Washington. It's been a nice size and works fairly well, but I've been wanting one about the same size in white. I didn't want to sew it this time. I wanted to make something that had a lot of texture, and I figured that crochet would get the effect that I wanted.

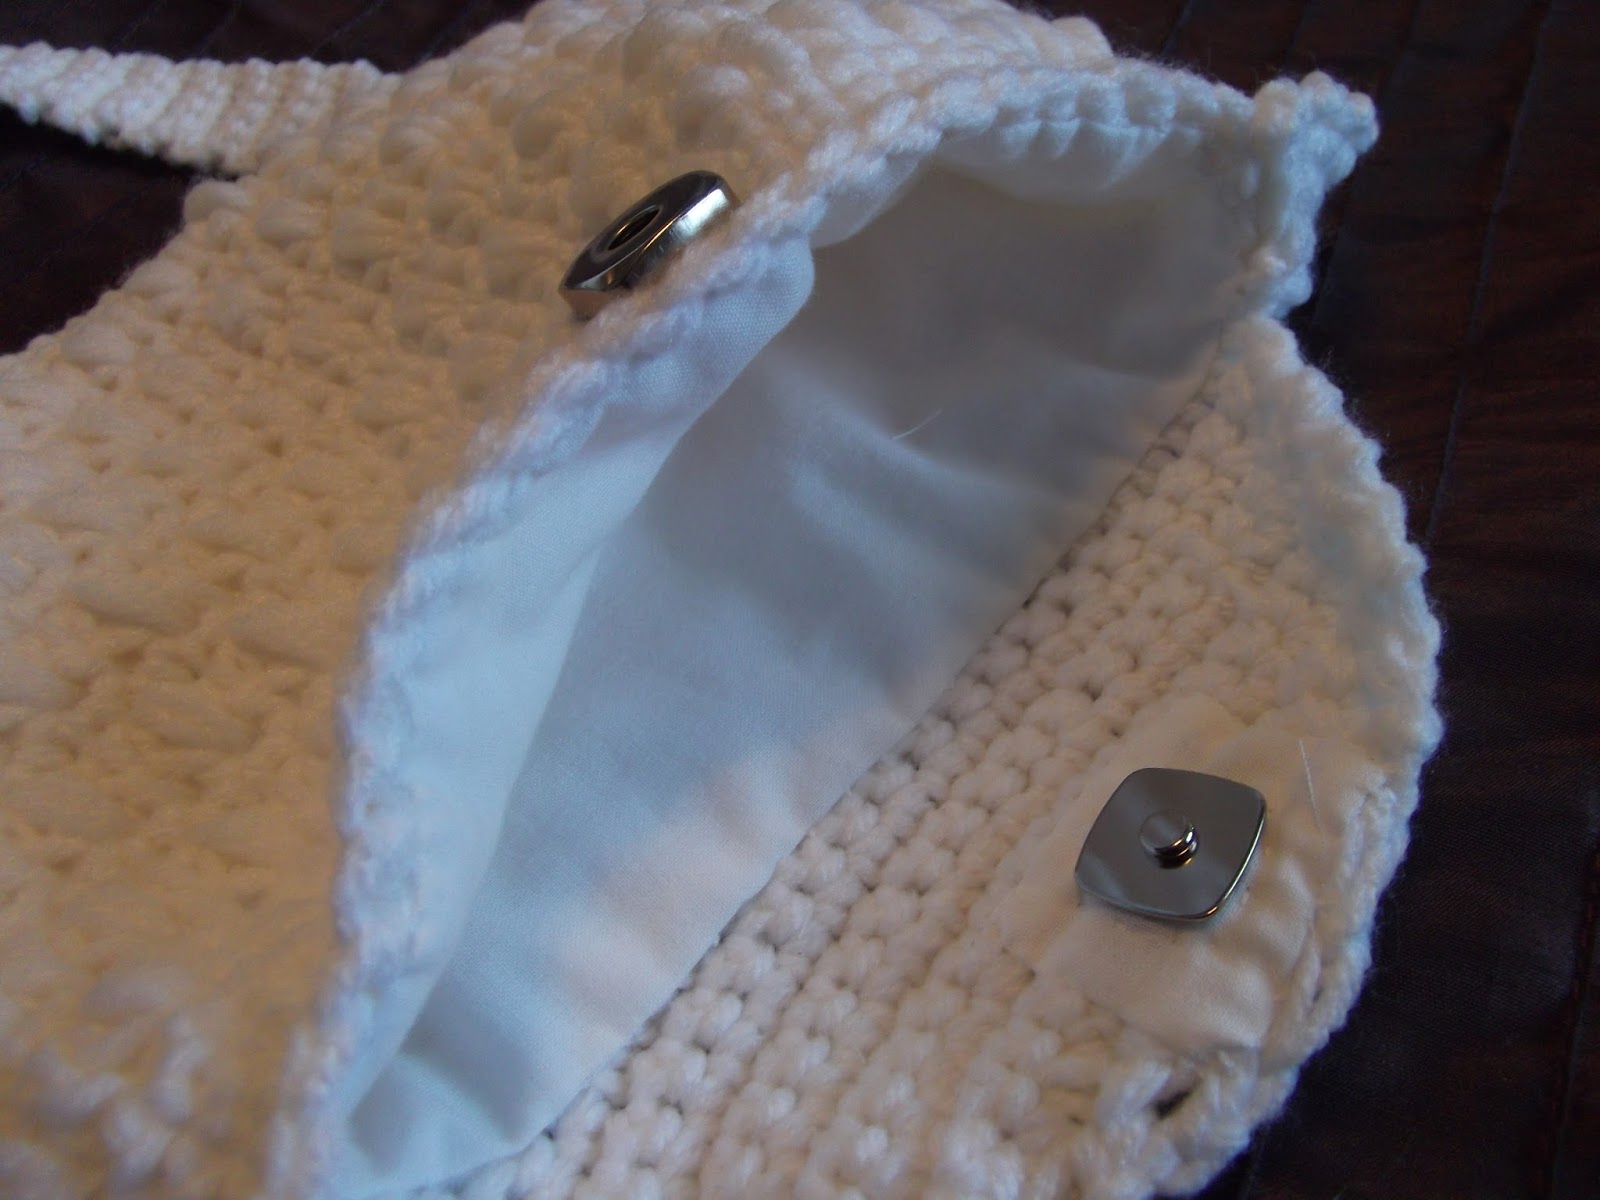
For this purse I used single crochet, double crochet, puff stitch, chain, and slip stitch to make it. I had used this same pattern for a couple of scarves and decided that it would work pretty well. This purse is worked with a long chain base and then in the round. After completing it I realized that it needed a fabric lining and I planned on using some magnetic clasps to keep it closed. I ended up sewing all of the fabric by had because I didn't want to pull the sewing machine out for something small. It seemed silly to me. So I used a running stitch around and then slip stitch to attach the lining. I also used a slip stitch to adhere the fabric holding the magnetic half on the flap. It think it worked pretty well.

The lining and magnetic clasps.

Thursday, August 8, 2013

Disney's Newest Ladies (Plus Dragons)

When I'm in my room I've been looking at the 10 Disney Princesses and Merida that I made last spring, and thought to myself that they looked incomplete. Disney has some new leading ladies coming out in November and I knew that I had to make some that would match the ones that I've already made. I know that I should find the time to make some other Disney ladies, but since I'm excited about this movie I figured starting with them would be the best.

Meet Anna and Elsa of Frozen.
Their backs. Yep, I'm THAT obsessive.
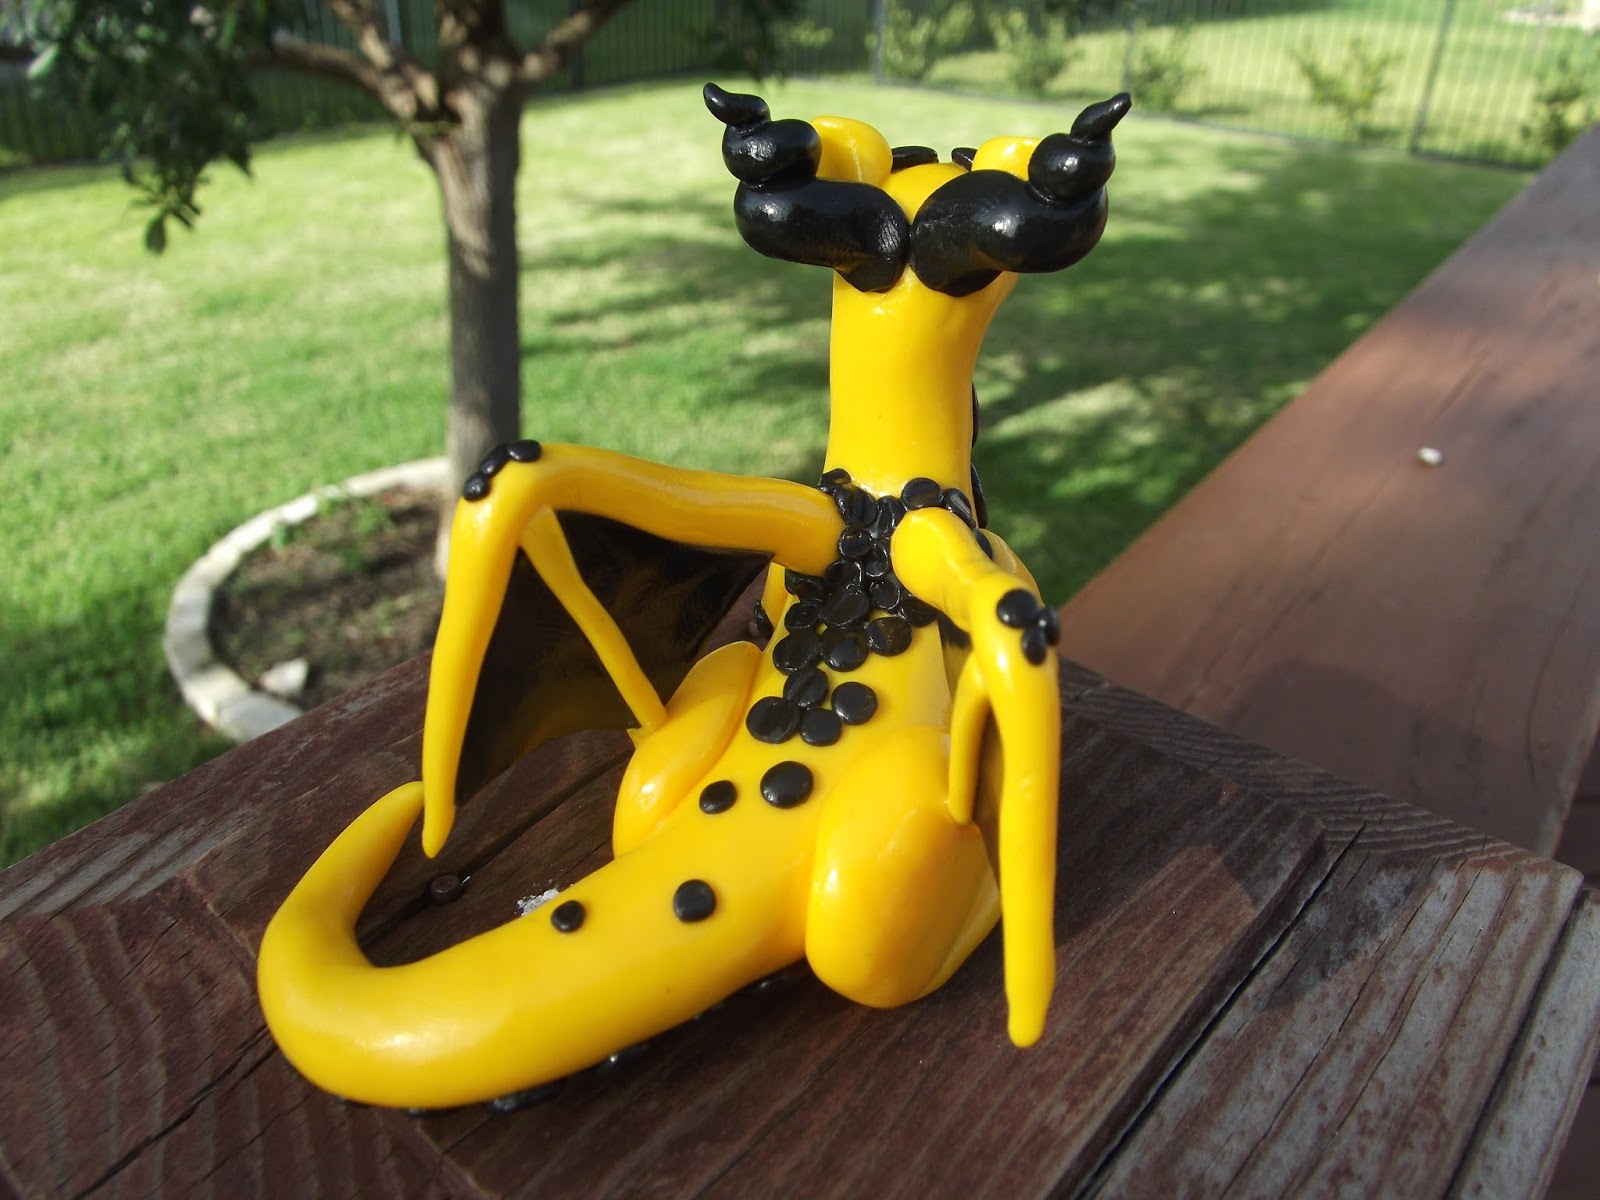
I also got around to finishing up the accidental Harry Potter themed dragons. There are the Maroon & Gold, Green & Silver, Blue & Bronze, and now the Yellow & Black. I suppose you can guess which house the dragons belong to. I thought it would be fun to have a matching set of dragons. ;)


I also decided to experiment a little. I have a few extra glass pebbles and I wanted to do something fun with it. Putting the pebble in the center helped me come up with an idea: a dragon's eye. I thought it would be interesting and different than anything I've made before. After baking I put a silver-wash on the clay and then glazed it to help the scales have more texture.


By the way, if you would like to commission me to make you something you can. I just don't make anything with licensed characters or is explicit. You can contact me here on the blog or on my deviantART.

Friday, July 26, 2013

Lulu the Dark Elf


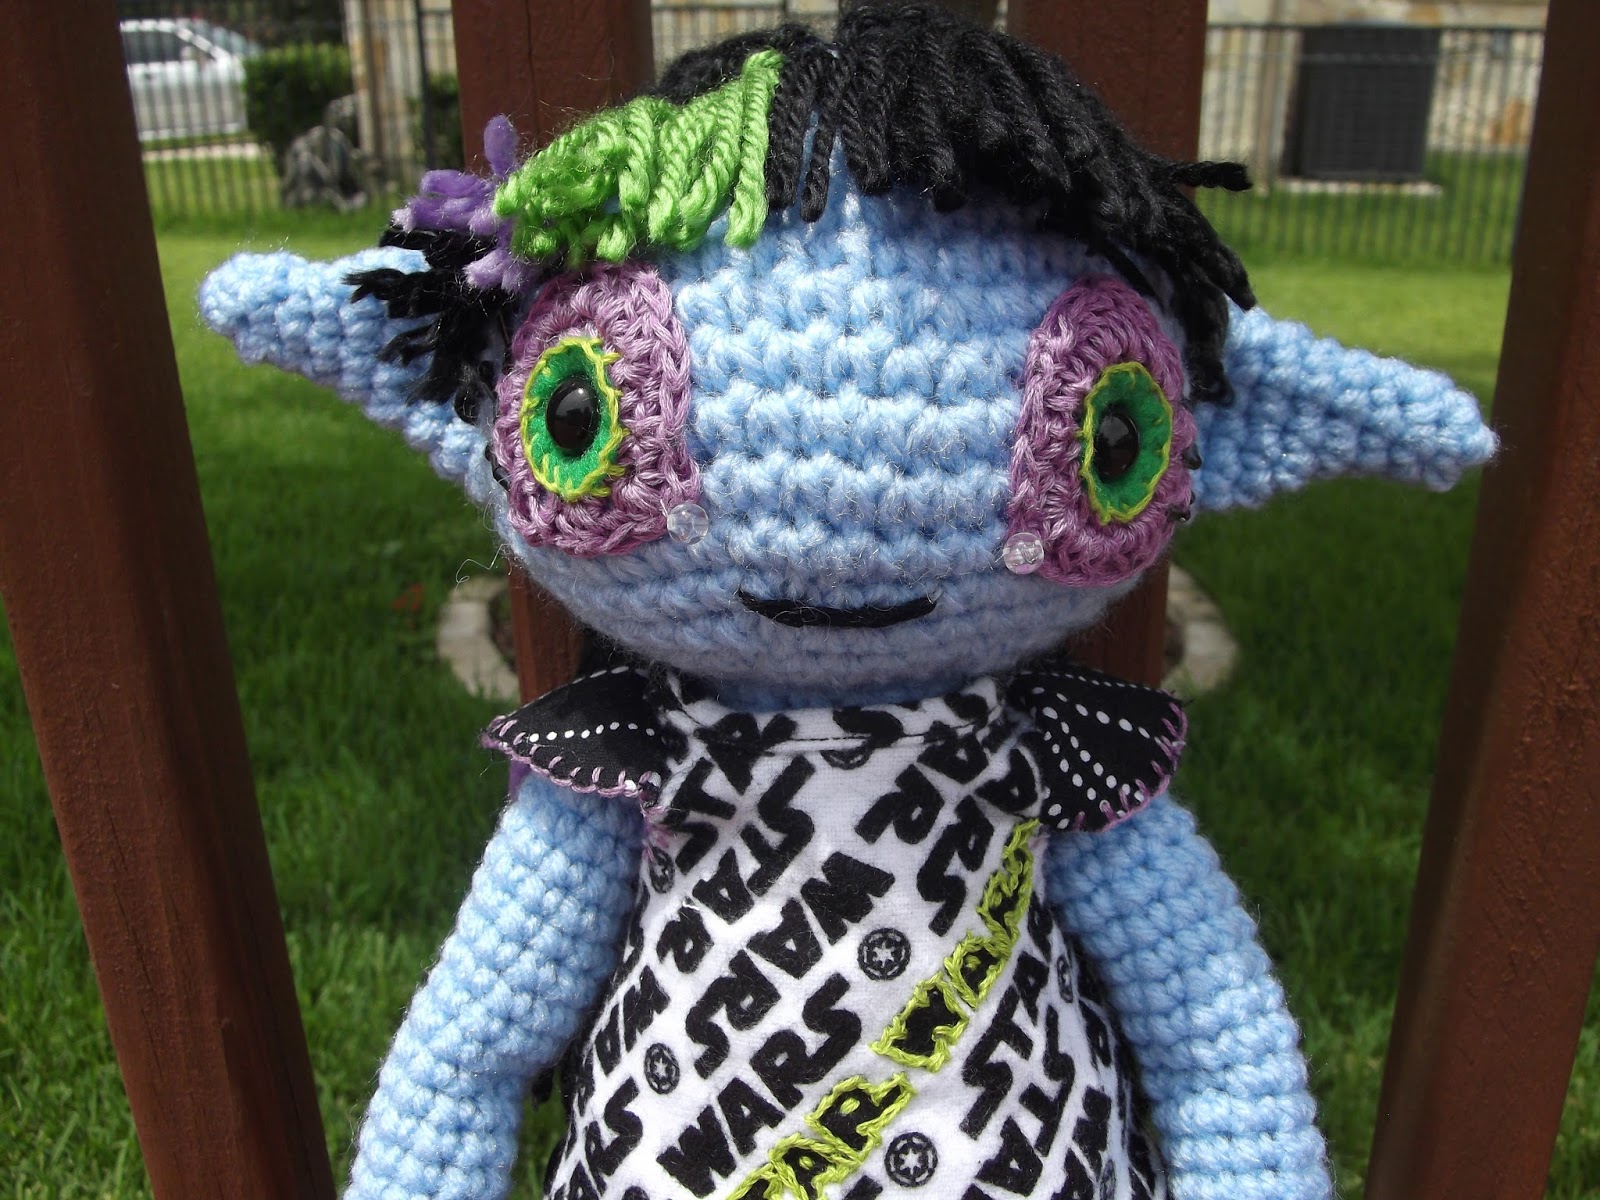
I recently got a hold of Amigurumi! Super Happy Crochet Cute by Elisabeth A. Doherty at Half-Priced Books. I have been wanting to make something from that book for years now but this is the only time I could have gotten the book for under $8. I didn't want to follow one of the patterns to the "T," though. I decided that this would be a good time for making a Dark Elf like I have for some time.

This girl took some time to make. My wrists and knuckles have been giving me some grief more than I had anticipated. I had to take more breaks than I liked. The hair took longer than I thought it would, as well. I hadn't done a french braid for an amigurumi before and it took a little more thought. It was also nice to sew some clothes for her. Everything can come off of her but the shirt. I had to sew it shut although I could have added snaps. I really like how she came out. Now it's time for close-up shots.